Michael Mauer is never without a notebook because even during meetings he always draws and scribbles. “I drive my wife crazy,” admits the 58-year-old designer. “Even at breakfast I do sketches, and they’re almost always cars. I can’t help it.” It may sound cliché, but Porsche’s head of design has been living and breathing design since 2004. During this period of isolation, his miniature sketches are accumulating faster than ever before and he has decided to let fans know what steps they need to take to correctly design an icon of world motoring: the Porsche 911.
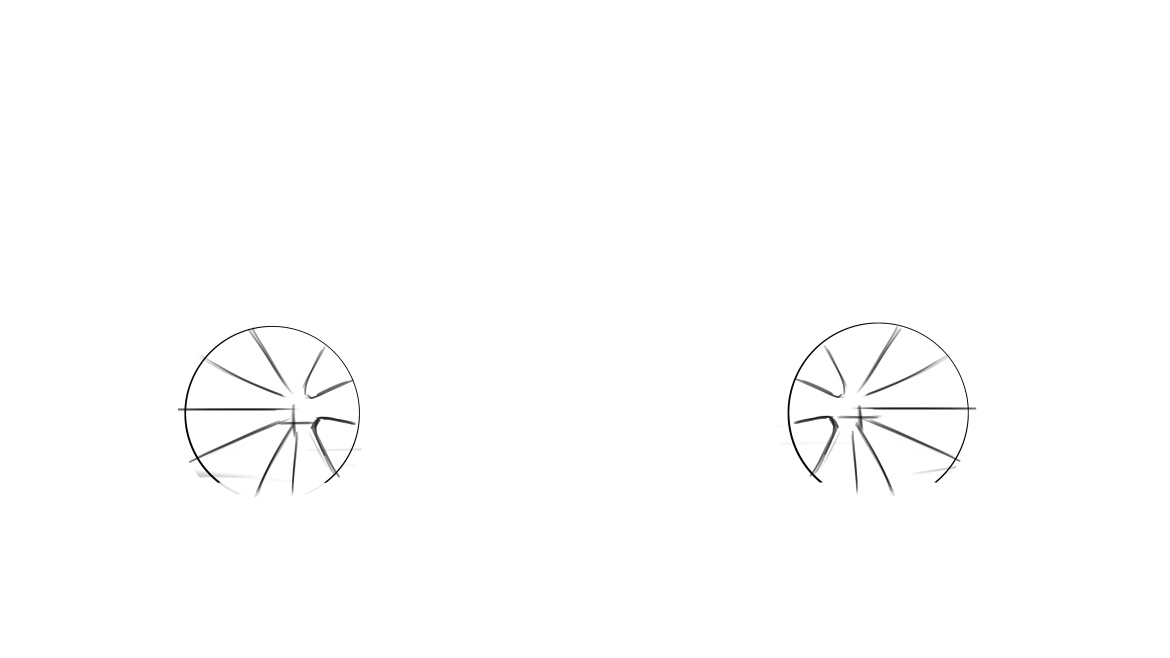
“One of the fundamental things to think about when drawing cars is to be able to go beyond their three-dimensionality. Sometimes you also have to add more emphasis. Exaggerate. Think of a caricature: you can tell right away that it’s someone if your nose has been enlarged too much,” says Mauer. “Some designers start by drawing both wheels, others from the front wheel and then continue to draw the front of the car and only add the second wheel afterwards. I always start with both wheels because one of the most difficult challenges is to define the wheelbase and proportions. Following this method I sometimes realise that the rear wheel is in the wrong position, so I just gate it and start again”.
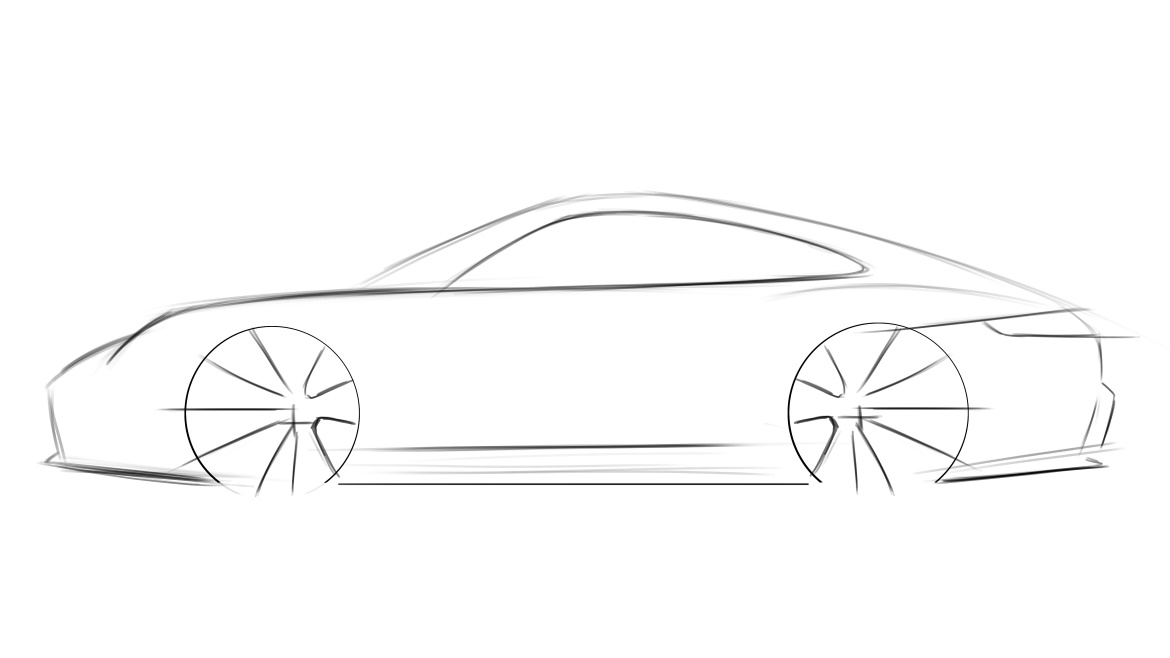
Once the wheels are in position, the next step is to put the car on the ground by drawing the line between the wheels. “Now you can start to define the outline. The designers and engineers talk about the “zero Y section”, the outline. It’s very iconic in the case of the 911. Gradually we begin to add detail, step by step. The next step is the realization of what is called DLO (Daylight Opening): the design of the glass surfaces”.
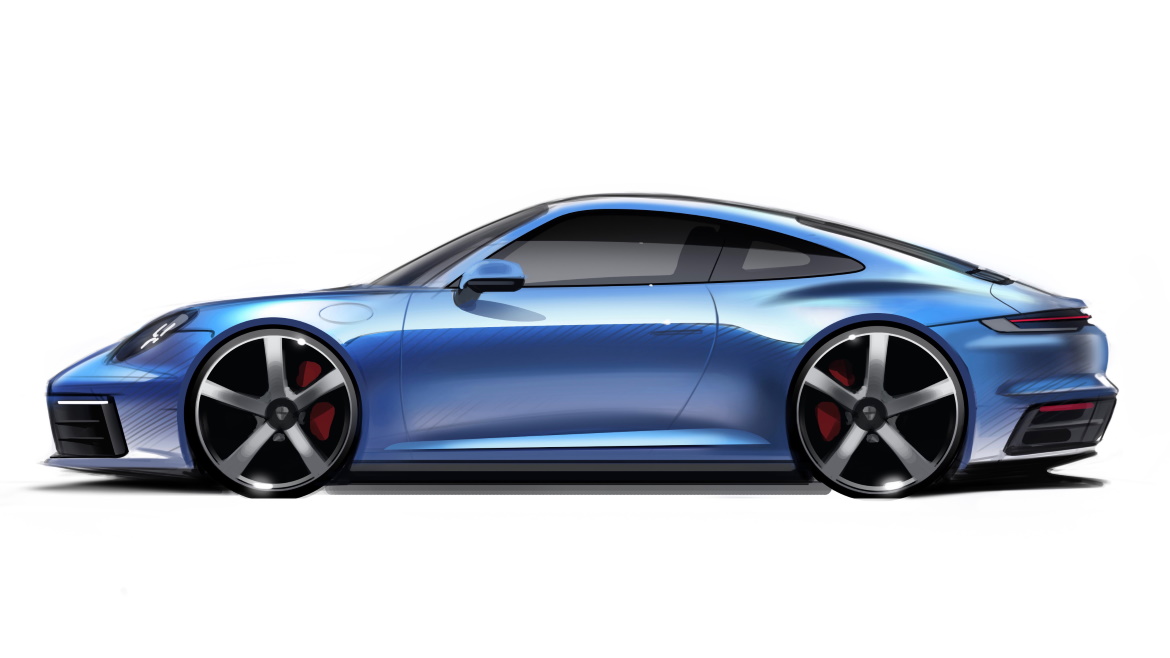
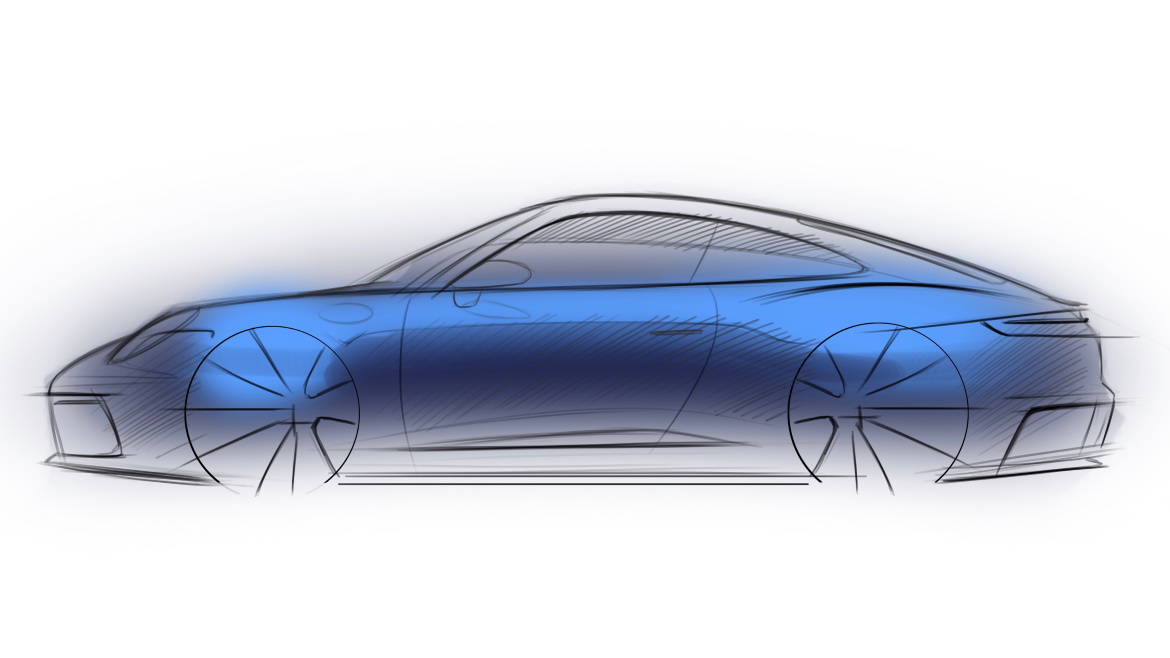
The third step involves the addition of numerous details such as handles, mirrors and some lines of variable thickness to add or remove emphasis to the vehicle. If the first five sketches were in fact just lines, now is the time to add shadows and contrasts. “The shoulder is still completely colourless because we want to give the impression that it is a reflection of light. The next step is one of the funniest: thanks to the colour everything seems to come together. If you work with Photoshop it’s like adding another layer. The blue colour on the top of the car reflects the sky, while below the waistline, where it is darker, it reflects the floor. This creates the impression that the car is placed on the ground”.
When working on paper, in a single dimension, you need to take other measures, always using colours and shades to create depth and a three-dimensional appearance. To get closer to reality we can use a photo as an aid. We observe every detail: what you see through the glass, what reflections there are on the bodywork. Every detail is useful to study how the shadow appears on the surfaces. To bring out some parts where it reflects the light we use the white colour and make other smaller parts shine like lights or brake calipers. But the most important advice is this: don’t be afraid to make mistakes, only with practice can you achieve a satisfactory result”.

